| Installation and Administration | Getting Started | Command Line | Configuration | Eclipse Plugin | Reference Manual | API |
| Show on single page Show on multiple pages |
|
|
|
|
The Squore installation package can be used to upgrade an existing Squore installation from Squore 2013-B-SP3.
When an installation is upgraded, the following happens:
The new version of Squore Server overwrites the previous one in the same installation directory.
The database is upgraded.
The data files are migrated.
The old basic configuration is kept: location of data, cluster and tmp folders as well as ports.
LDAP settings, licence server sharing, SSL configuration are discarded and will need to be configured again. The old <SQUORE_HOME>/config.xml and <SQUORE_HOME>/server/standalone/configuration/standalone.xml are backed up for your convenience next to the new ones (i.e. <SQUORE_HOME>/config.xml.bkp and <SQUORE_HOME>/server/standalone/configuration/standalone.xml.bkp).
Ensure you have a backup of your data before attempting an upgrade. When an upgrade fails, restore the previous Squore installation and its data before attempting the upgrade again.
The java version required by the new version of Squore may be different from the one you were using in your previous installation. On Windows, an installer screen will prompt you for the path to the new Java installation to use after upgrading. On Linux, you can use the -J option to specify the new path to Java in your upgrade command line.
Before upgrading from a pre-16.0 version, ensure that you have as much free space on your disk as the size of your current database, as reported on Administration > Projects.
Upgrading from a pre-18.0 version on Windows will migrate your cluster from PostgreSQL 8.4 to PostgreSQL 9.6. This migration takes place in Squore's temp folder (as configured in ) and requires as much free space as the current size of your database. Make sure you free up space before starting the upgrade.
Folders inside the installation directory are deleted during an upgrade, including the default tmp, data, cluster and backup folders. Before you attempt to upgrade Squore, run a full backup of your data (and move it outside <SQUORE_HOME>) using the provided backup scripts described in the section called “Backing-Up the Squore Data”
On Linux, if you used the -x and/or -s parameters in your initial installation or if you manually edited the value of PostgreSQL's shared_buffer or java Xmx parameters after installing, you must pass -x and/or -s on the command line for the upgrade as well, as they are not read from the previous installation. For more details on install options, refer to install(1).
The file postgresql.conf in your database cluster is patched during the upgrade process. If you have modified it manually, create a backup copy before upgrading and verify that the migrated file still contains your modifications.
If you are a local PostgreSQL cluster as your database, ensure that the server and the database are shut down before continuing. In all other scenarios (an Oracle database or a remote PostgreSQL cluster not managed by Squore) ensure that Squore Server is stopped and that the database is accessible and accepting connections.
No progress information is displayed on screen during the database upgrade phase, which may take a while to complete.
Follow these steps to upgrade your Windows installation.
Running the Windows installer generates a log file in <SQUORE_HOME>\install.log, which you can consult if you think there is an issue with your installation.
When an installation or upgrade fails, the operation is rolled back in an attempt to remove all files in the selected installation folder. When this happens, the log file
can be found in %LOCALAPPDATA%\Temp\install.log instead.
Run the Windows installer.
Click the Next button to get to the Licence Agreement screen.
Click the Next button to get to the Destination Folder screen.
Browse for the folder containing the old installation and click the Next button.
On the Upgrade screen, the installer confirms that the selected folder contains an older Squore installation.
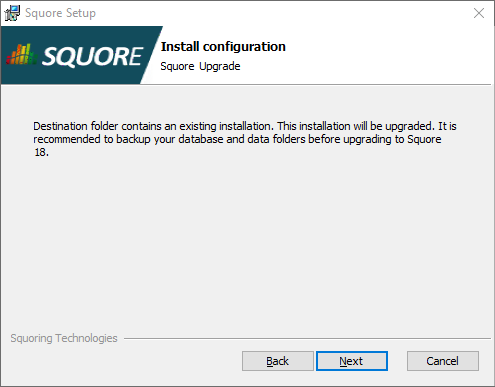
The Upgrade screen
Click the the Next button button to continue with the upgrade.
If you are running an unsupported Java version, you will see the following screen, where you can specify the path to the new Java version:
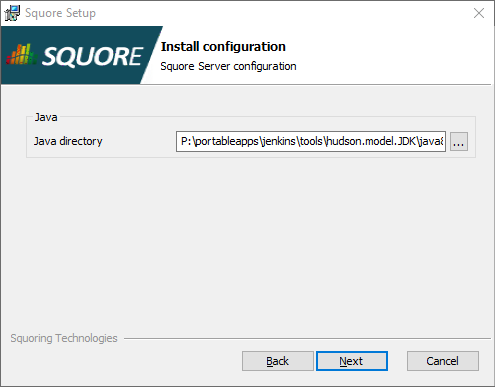
The Squore Setup screen for the new Java directory
Specify the path to the new Java installation and click the Next button to continue with the upgrade.
If you are migrating from a pre-17.0 version and used Windows services, you will see the following screen, where you can choose the name of the new Squore service:
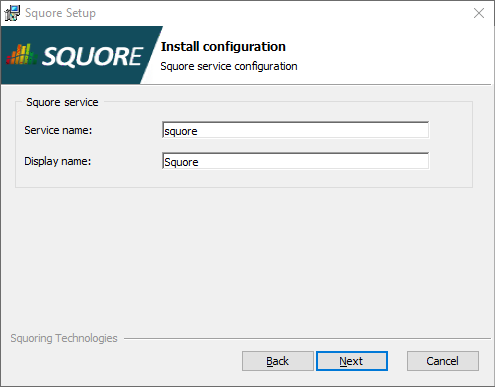
The Windows Service screen
Specify the name and display name of the Windows service and click the Next button to continue with the upgrade.
The Confirmation screen is the final step before the upgrade starts. If you are satisfied with your selections and have enough free space to proceed, click Install.
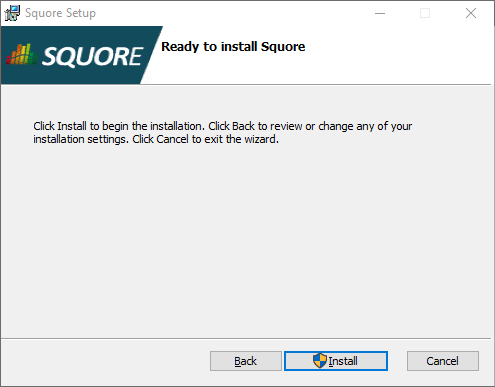
The Confirmation screen
Wait for the upgrade process to complete and close the wizard by clicking on Finish.
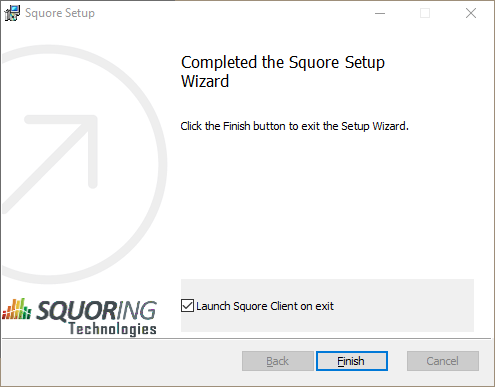
The Installation Complete screen
Ensure you have a backup of your data before attempting an upgrade. When an upgrade fails, restore the previous Squore installation and its data before attempting the upgrade again.
The java version required by the new version of Squore may be different from the one you were using in your previous installation. On Windows, an installer screen will prompt you for the path to the new Java installation to use after upgrading. On Linux, you can use the -J option to specify the new path to Java in your upgrade command line.
Before upgrading from a pre-16.0 version, ensure that you have as much free space on your disk as the size of your current database, as reported on Administration > Projects.
Upgrading from a pre-18.0 version on Windows will migrate your cluster from PostgreSQL 8.4 to PostgreSQL 9.6. This migration takes place in Squore's temp folder (as configured in ) and requires as much free space as the current size of your database. Make sure you free up space before starting the upgrade.
Folders inside the installation directory are deleted during an upgrade, including the default tmp, data, cluster and backup folders. Before you attempt to upgrade Squore, run a full backup of your data (and move it outside <SQUORE_HOME>) using the provided backup scripts described in the section called “Backing-Up the Squore Data”
On Linux, if you used the -x and/or -s parameters in your initial installation or if you manually edited the value of PostgreSQL's shared_buffer or java Xmx parameters after installing, you must pass -x and/or -s on the command line for the upgrade as well, as they are not read from the previous installation. For more details on install options, refer to install(1).
The file postgresql.conf in your database cluster is patched during the upgrade process. If you have modified it manually, create a backup copy before upgrading and verify that the migrated file still contains your modifications.
If you are a local PostgreSQL cluster as your database, ensure that the server and the database are shut down before continuing. In all other scenarios (an Oracle database or a remote PostgreSQL cluster not managed by Squore) ensure that Squore Server is stopped and that the database is accessible and accepting connections.
No progress information is displayed on screen during the database upgrade phase, which may take a while to complete.
Follow these steps to upgrade your Linux installation.
Download the Linux installation package.
Extract the archive by running the command:
cd
/tmp
/usr/bin/tar
xjf
squore-18.0.18-linux-x86_64.tar.bz2
<SQUORE_HOME>/server/bin/standalone.confRun the upgrade by executing:
cd
/tmp/squore-server/bin
./install
-U
/path/to/old/installation
[options...]
<SQUORE_HOME>/server/bin/standalone.conf if necessary to reapply your custom configurations.