| > Show on single page > Show on multiple pages |
Adding a version to an already-existing project is a simple procedure that is carried out from the My Projects page.
Follow these steps to create version 2 of your project:
After logging into Squore, click on My Projects.
Click the Build
icon
( )
for the Neptune2 project in order to access the source code file options.
)
for the Neptune2 project in order to access the source code file options.
The first screen of the wizard enables you to specify the version name and to modify some of the project attributes if necessary.
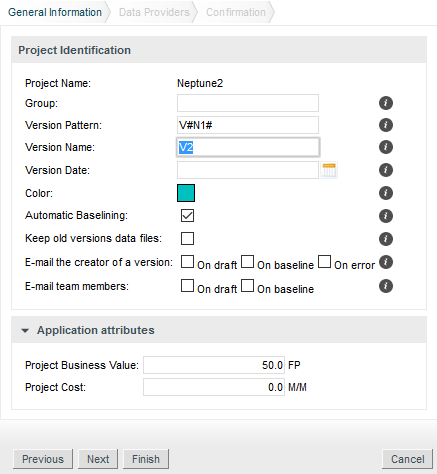
Parameters For the New Version of Neptune2
Click the Next button to reach the project language and source settings screen. On this screen, you can modify the path to the source code and point to the newer version. Note that by default, Squore displays the path used when analysing the last version. Leave the path as it was for version 1. We are going to create a version that analyses the same code in this example. If you scroll down to the code analysis option, you will notice that some of them are now disabled. This is because the project configuration was set in version 1 and is not allowed to be modified in subsequent analyses. This ensures that your project is scored using the same criteria every time you analyse new code.
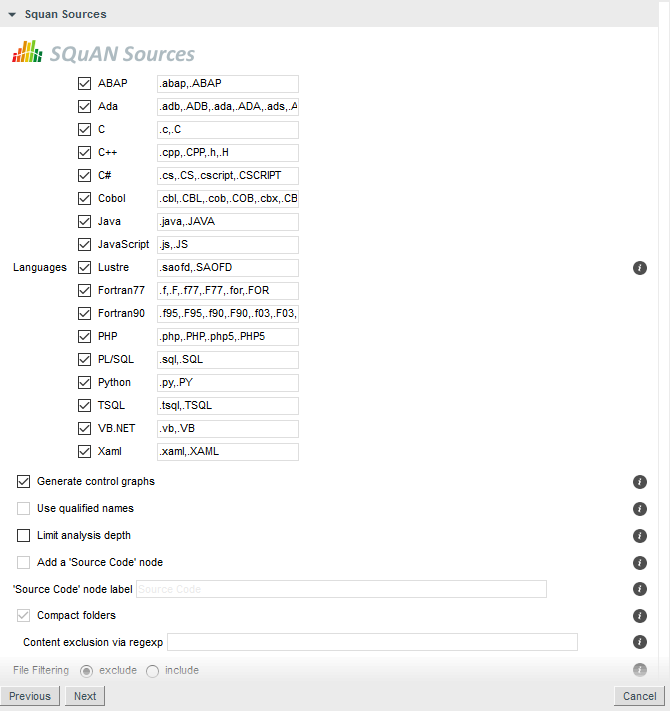
Unavailable options when creating version 2 of a project
Note: You can add new sources to the project at this stage if needed. Read more about projects using sources spread over multiple locations in the section called “Can I Create Projects with Sources From Multiple Locations?”.
Click the Next button and Run to launch the analysis of Neptune2 V2. When the analysis finishes, Neptune2 V2 will be listed in the list of projects on the Projects page.